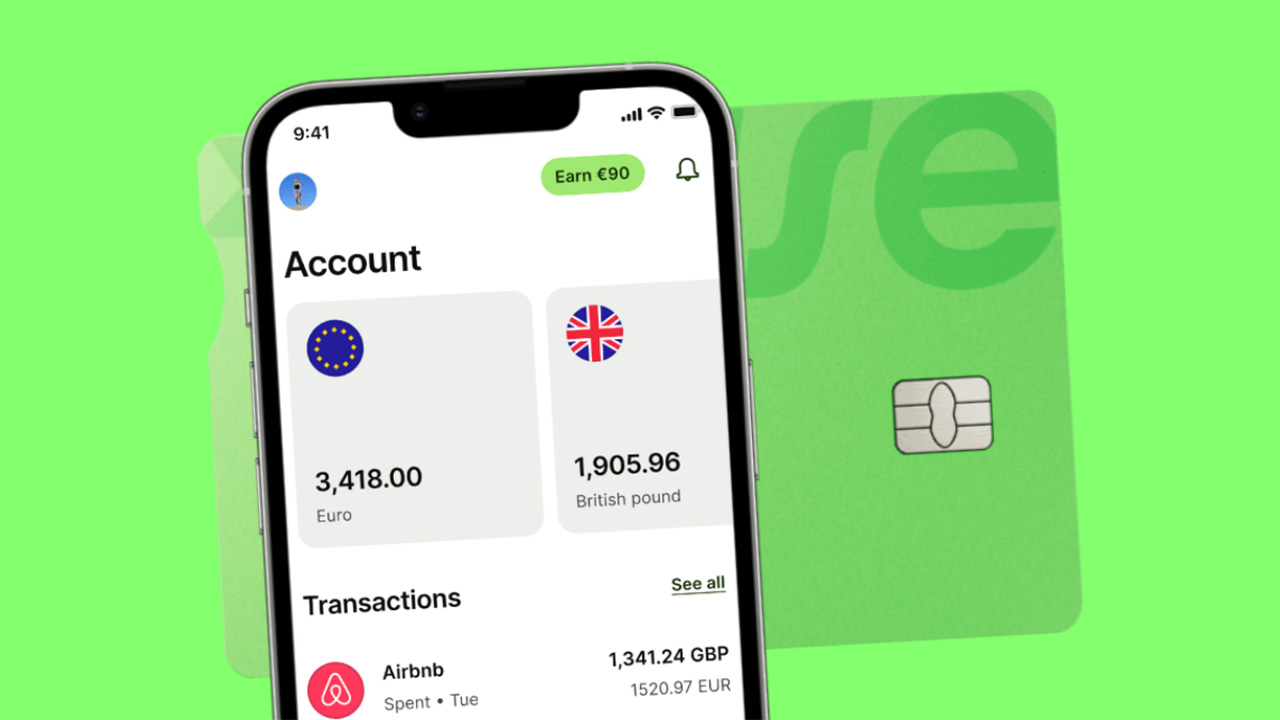
Opening a Wise account is a simple way to send and receive money worldwide. You can access your local account details in over 10 different currencies or hold your money in over 40 currencies. Here, we will delve into the details and steps necessary for opening a Wise account in Canada, including aspects like fees, exchange rates, and how to verify your account.
Steps to Open a Wise Account
To open a personal account with Wise, you must be over 18 years of age and provide documents to verify your address and identity. Follow these steps:
Step 1
Apply online to create a personal account. First, enter your email address and mobile number, create a password, and indicate that you live in Canada.
Step 2
Verify your identity. This involves uploading images of your identification documents and verifying your address.
Step 3
Finally, open a balance. Simply log into your new account, select “Open a balance,” and choose your desired currency.
After opening your Wise account, you can hold over 40 currencies simultaneously or send money to your family with just a few clicks.
Information Required to Open a Wise Account
To sign up for a Wise account, you need the following information:
- Your name, date of birth, and address
- Your mobile number
- Your email address
Note that each person can only have one personal account with Wise, but they can use multiple currency balances in their account.
Steps to Verify a Wise Account in Canada
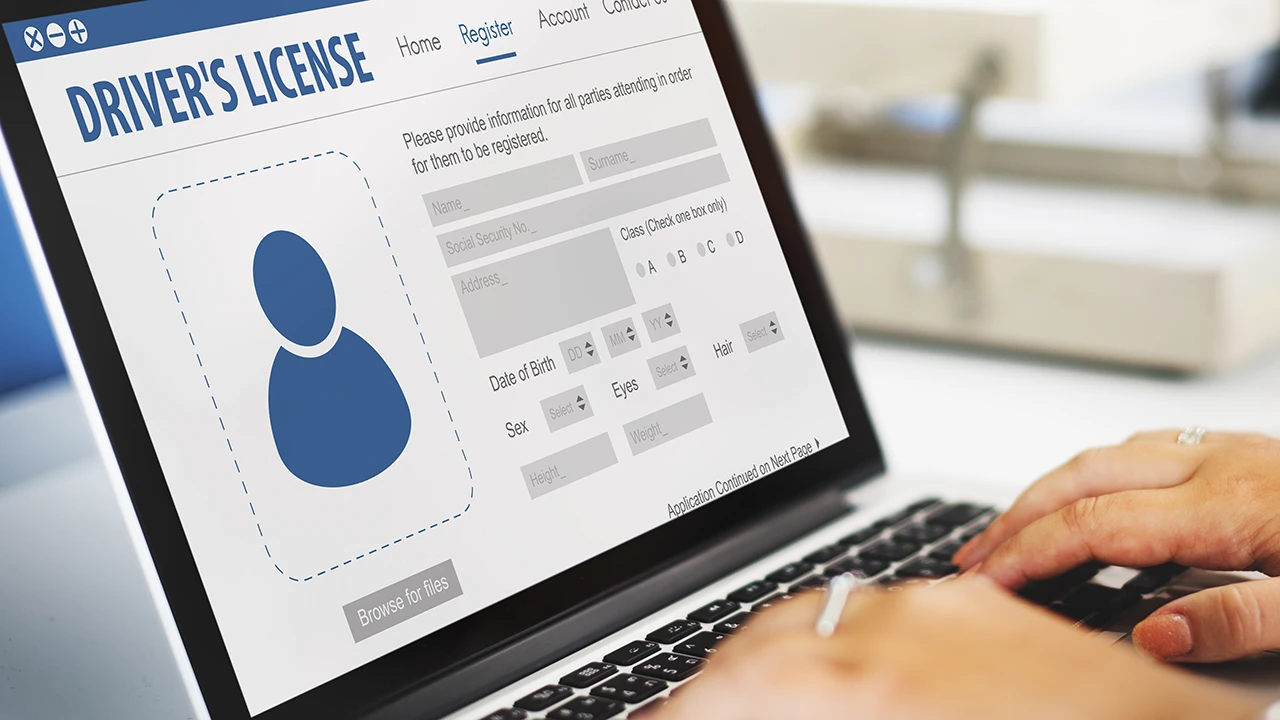
After signing up for your Wise account, you need to verify your account. Wise will provide you with the necessary instructions to complete the identity verification process, which includes uploading identification documents and verifying your address.
Accepted Identification Documents Include:
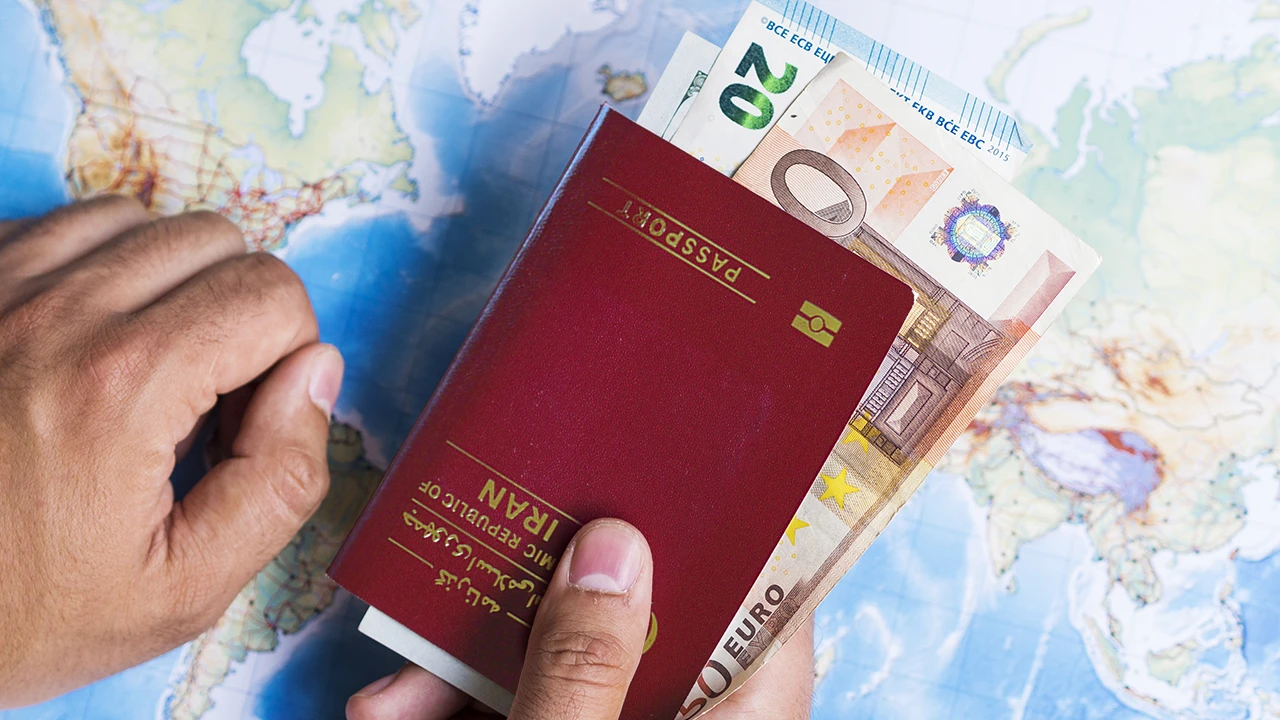
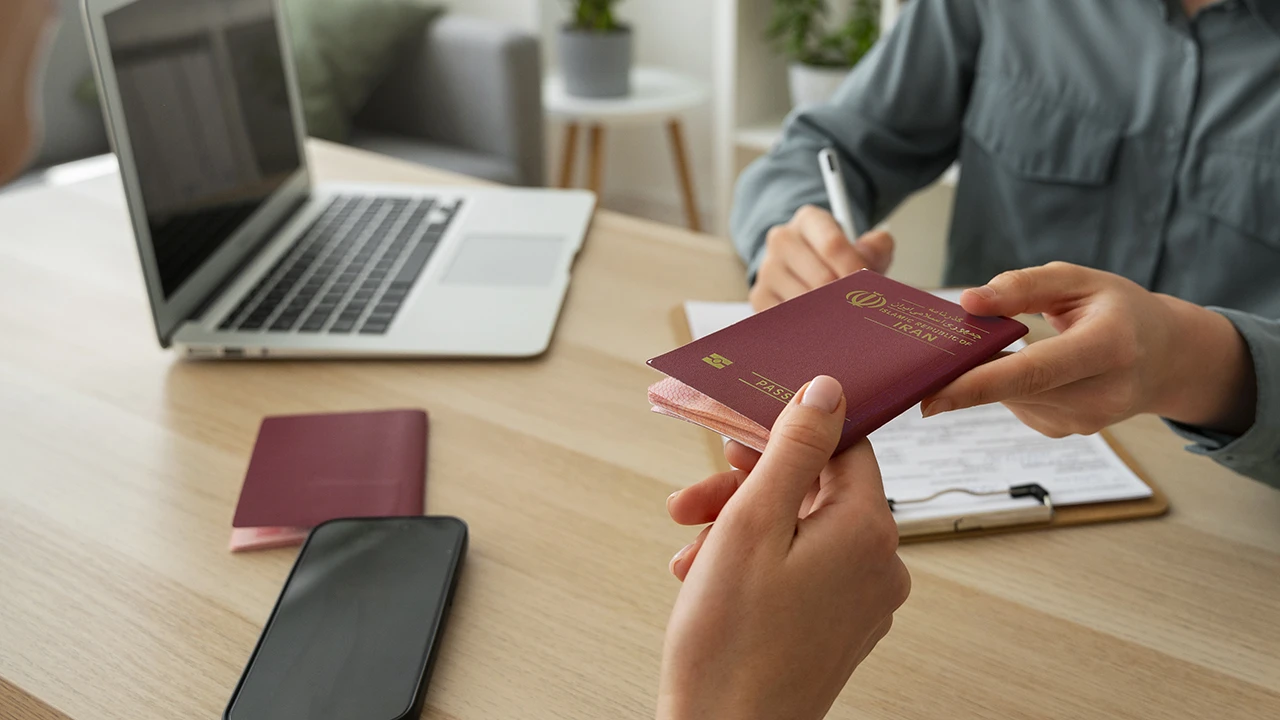
- Your passport (you can use an Iranian passport to open the account)
- Canadian driver’s license
- Your national identity card
To verify your address, you must use a document that shows the same address you entered in your Wise account, such as:
- Bank statement
- Utility bill
- Vehicle registration
- Driver’s license showing your address
- A document issued by a government or financial institution
Of course, sometimes address verification is not required, and it is sufficient to enter your residential address to receive the physical card.
When you transfer large amounts of money, the Wise verification process may depend on the amount of money you want to send and the currency you are using. The platform will notify you if you need to provide additional documents. This is to ensure the security of your money.
Why Does Wise Request Your Identification Documents?
Wise requests valid identification documents during the verification process. This helps maintain the security of everyone’s money and reduces fraud and money laundering. Also, if you open an account at a financial institution, you are usually required to bring your identification documents to the branch. However, with Wise, you can complete this process online.
Duration of the Wise Verification Process in Canada
The Wise verification process usually takes one business day. After your account is verified, you will receive an email notification.
How to Open Balances in Different Currencies in a Wise Account
You can open your balance in Canadian dollars as well as several foreign currencies such as US dollars (USD), Brazilian Real (BRL), Indian Rupee (INR), or Euro (EUR). The following steps are easy for opening balances:
- Log in to your Wise account and go to the “Home” page.
- Click “Open” and select “Balance.”
- Select the desired currency to hold.
Then, you can add money using your Wise balance or a connected bank account. You will also need to verify your identity.
How to Set Up a Wise Account to Receive Money
If you want to receive money from a country where you do not have a bank account, you can get local account details from Wise. To set up your Wise account to receive payments, follow these steps:
- Log in to your Wise account and select your currency. Then click “Get account details.”
- Follow the on-screen instructions to fill your balance and add money. You will also need to complete the Wise verification process.
Once verified, you can use your new bank account details to receive payments in the local currency.
You can also receive money by requesting payment from the other party or by giving your Wise registered email address.
Are There Any Fees for Opening a Wise Account in Canada?
Opening a personal Wise account is free, and you pay no fees to receive payments in 21 local currencies.
Incoming USD transfers have a fixed fee of $6.11, and for incoming CAD SWIFT payments, the fixed fee will be $10.
Wise uses real market exchange rates for currency conversion and helps you avoid the heavy fees usually added by banks and most money transfer service providers. Instead, Wise uses transparent usage-based pricing.
How to Open a Wise Business Account in Canada
If you are looking for a suitable solution for your business accounting, choose a Wise business account. With your business account, you can:
- Pay international invoices
- Send instant cross-border payments
- Make batch payments to up to 1000 recipients
Opening a Wise business account in Canada is very easy:
- Apply for a business account. If you already have a personal account, you can connect both accounts to the same login.
- Follow the necessary instructions to provide Wise with information about you and your business.
- Set up your account. You will need to pay a one-time fee of $42 CAD to access account details in over 10 currencies.
Wise will notify you if you need to provide additional information or documents to verify your account. Once your account is verified, you can manage your finances easily and securely.
Information Required to Open a Business Account
To open your business account, you need the following:
- Your name, date of birth, and country of residence
- Your business registration and location
- Proof of who owns or controls your company
You may need to verify your business account after opening it to ensure Wise complies with Canadian financial regulations. Wise will contact you if necessary.
Setting Up a Wise Business Account to Receive Payments
If you are a freelancer or store owner, you need to set up your Wise business account to receive payments from customers.
Wise supports card payments in several currencies, including CAD and USD. To receive payments by card, follow these steps:
- Log in to your Wise account and click “Request a payment.”
- Select “Card” and share the link with your customers.
Wise will notify you when your customer has made a payment.
You can also request money from your customers using a payment link or receive money directly through bank transfer to your business account.
Fees Related to Opening a Business Account in Canada
Fortunately, signing up for a Wise business account is free. You will only pay a one-time fee of $42 CAD to receive local account details in over 10 currencies.
Avoid international business transaction fees and heavy exchange rate fees.
Frequently Asked Questions About Opening a Wise Account
Does Wise work in Canada?
Yes! You can use your Wise account in Canada. You can also use your Wise personal or business account to receive local account details in 10 currencies, including USD and GBP.
Does Wise charge a monthly fee to your account?
No, you do not pay a monthly fee for your personal Wise account. Signing up to open a personal account is completely free. But for a business account, you only pay a one-time fee of $42.
Can I open a Wise account in Canada if I am not a resident?
In the Wise verification process, you must provide proof of address, as the platform needs to know who is using its services and where they are located.
However, if you live abroad, you can still send Canadian dollars.
Can I open a Wise account without a Canadian address?
No, to open an account in Canada, you must provide proof of your address.
Do I need a bank account to open a Wise account?
You do not need a bank account to open a Wise account. You can use Wise to send direct Wise-to-Wise transfers or receive local account details in 10 global currencies.
You may need a bank account if you want to add money to to your account by bank transfer.
No votes so far! Be the first to rate this post.
نوشته های مرتبط:
- Guide to Applying for Driver's License Replacement…
- Verification Guide for Applicants Renewing Their…
- The Cost of Getting a New Iranian Passport for…
- Everything About Iranian Passport Renewal Abroad
- How to Verify Your Canadian Educational Credentials in Iran
- Guide to Renewing Iranian Passports for Residents of Canada


